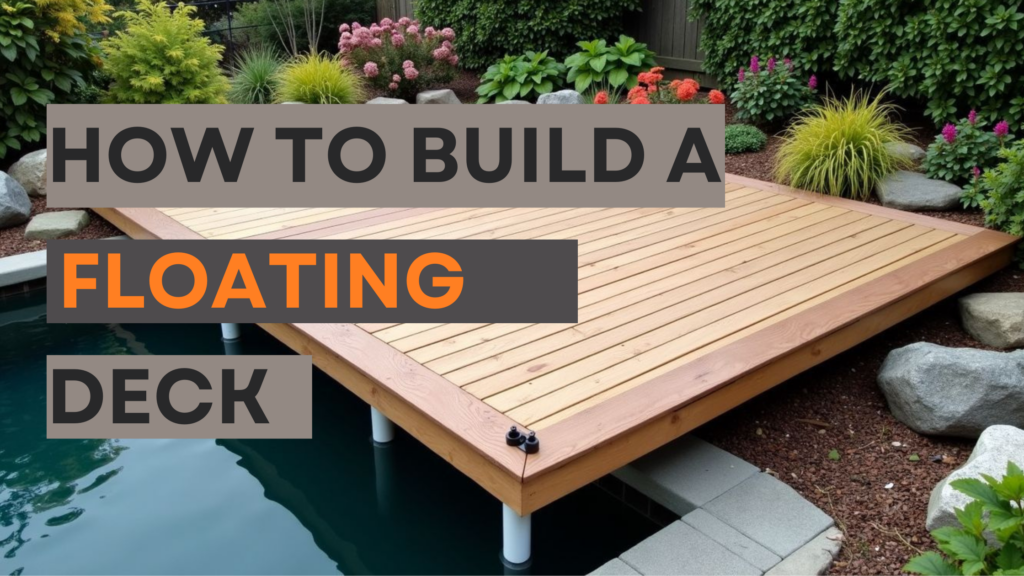
How to Build a Floating Deck in New Zealand: A Comprehensive Guide

Building a floating deck can seem hard. One key fact is that proper footings and foundations are vital. This guide will show you how to pick the right base and build your deck step by step.
Read on for easy steps.
Choosing the Right Decking Foundation
Selecting the appropriate decking foundation is crucial for ensuring the stability and longevity of your floating deck. The right choice between options like concrete blocks, concrete piers, or screw piles can significantly impact the overall performance and durability of your deck.
Importance of Decking Foundation
A sturdy base is essential for any floating deck in New Zealand. It guarantees the deck’s stability, distributing concentrated loads over a wider area and accommodating varying ground conditions.
Footings, their depth depending on the location, along with posts, bearers, and joists, compose the core of this base. This structure manages weight distribution and stability, prohibiting sagging or movement as time passes.
Builders adhere to a specific methodology: initiating by excavating into the soil before the footings receive concrete. Following this, vertical supports or posts are installed securely into these footings.
Next, horizontal beams, known as bearers, are attached across these posts. Lastly, they install joists that offer a frame for positioning the decking material such as treated timber.
These activities guarantee a deck that stays water-resistant and durable against elements like cyclonic forces.
A suitable base holds your deck upright, and also maintains its safety and longevity.
Utilising top-notch materials such as treated timber aids in hampering rot and pests from damaging the subfloor sections of your deck structure. Furthermore, equipment like drills is crucial for assembling components securely, whereas pavers could provide extra support under footings when needed.
Types of Decking Foundations
Here are the main types of decking foundations used in New Zealand, each suitable for different ground conditions and deck designs.
These foundations offer different advantages depending on the specific requirements of your deck project, such as terrain, size, and connection to a house. Choose the one that best suits your needs for a stable and lasting deck.
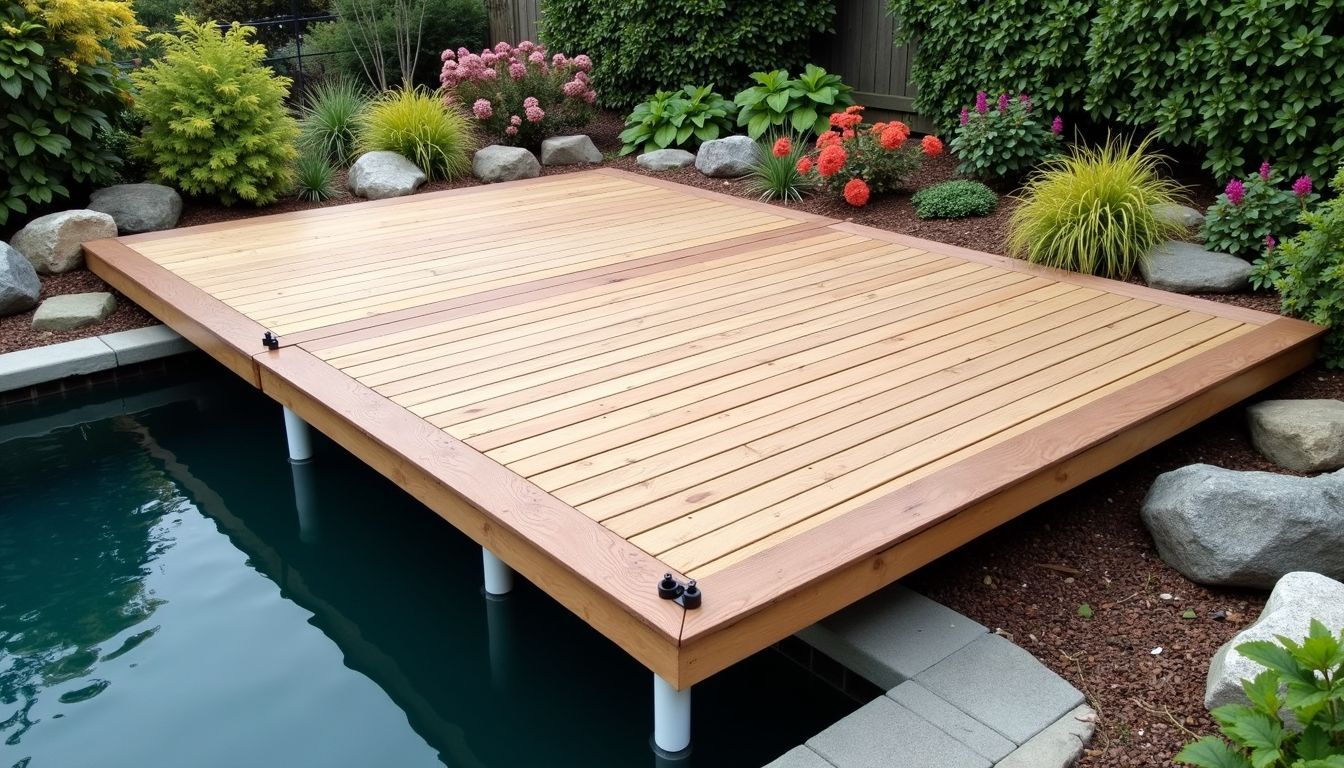
Installation Steps for a Floating Deck

When constructing a floating deck, begin by preparing the site with thorough excavation and leveling of the ground. Next, build the frame using sturdy wood and fasten it with hurricane ties for extra stability.
Afterwards, lay the decking carefully to achieve a waterproof finish that can endure New Zealand’s constantly changing weather conditions.
Preparing the Site
Preparing the site is a crucial step in building a floating deck. You need to ensure the ground is level and stable. Here’s how you do it:
Clear the area where you plan to build the deck of any debris, rocks, or plants.
Use a shovel and a rake to make the surface as flat as possible.
Check the levelness of the area with a long spirit level or a laser level.
If your site has uneven ground, consider using a decking pedestal system to provide stability over sloped surfaces.
Compact the soil to prevent any sinking or shifting of your deck in future. You can do this using a hand tamper or a soil compactor.
Lay down a weed mat to stop unwanted plants from growing through your deck.
Create a gravel bed if you’re not using concrete blocks for your foundation. Spread out gravel evenly across the area and compact it firmly.
Place concrete blocks or supports at strategic points under where the framing will go for added support and stability.
Make sure each block sits flush and level with one another; use sand for minor adjustments if necessary.
Double-check everything is level once more before moving on to constructing the frame.
Each step plays an important role in ensuring that your floating deck remains watertight, stable, and durable against weather elements like hurricanes by integrating ties designed specifically for securing decks against strong winds (hurricane ties). This groundwork sets a solid foundation for your wood working project, allowing you to proceed with framing and decking with confidence that your base is secure.
Constructing the Frame
Constructing the frame is a crucial step in building your floating deck. This part of the process ensures your deck has a solid, level foundation.
Initiate by determining the perimeter of your deck using string lines. This assists in identifying where you will place the bearers.
Integrate the Anchorjaks™ at positions outlined based on your plan. Confirm they are set firmly into the ground.
Modify each Anchorjak™ to ascertain they all reach the correct height, from 20mm up to 100mm. Utilise 60mm extenders if necessary for higher adjustments.
Align bearers on top of these supports, maintaining them parallel and level with each other.
Stably link these main horizontal beams using suitable fixings to preclude any movement.
Subsequently, position joists across the bearers at regular intervals to supply supplementary support for your decking boards.
Each joist should be secured tightly to guarantee no weak spots across your decking area.
Take into account that each Anchorjak™ can manage more than 750kg of force, hence depend on them to withstand under pressure.
Adhering to these guidelines will solidify a strong base for deploying your decking boards and accomplishing your floating deck project successfully.
Laying the Decking
Laying the decking is a crucial step in building a floating deck. It’s where you see your project come together. Here’s how to do it:
Ensure the subframe is level and secure. This gives stability to your deck.
Start at one corner and lay your first board across the beams or joists.
Attach each deck board to the subframe using screws for a tight fit.
Use Cornerkeepa™ on each corner of the deck for added stability. This tool reduces rattling and ensures comfort underfoot.
Make sure there’s a small gap between each board to allow water runoff.
For areas needing easy access underneath, lay tiles instead of boards. Since tiles are permeable, they’re also easy to lift for maintenance or inspection.
Continue laying boards or tiles, checking for even alignment as you go.
Use a feed reader tool to check the levelness of each row before securing it in place.
Adjust any pieces that sit too high or too low using an in-built self-levelling head for precise height adjustment.
After all boards or tiles are laid, do a final check for loose sections and secure them.
This process will create a strong, stable floating deck ready for furniture and gatherings.
Conclusion
Building a floating deck in New Zealand becomes simple with this guide. From picking the right base to setting up the frame and putting down decking, every step matters. Products like Anchorjak™ and Cornerkeepa™ make sure your deck stands strong and looks great.
With Decking & Fencing Auckland’s help, creating an outdoor space that meets council rules and feels solid underfoot is easy. Your dream deck is closer than you think.
FAQs
1. What is a floating deck and how can I build one in New Zealand?
A floating deck, an outdoor structure not attached to your home, can be built in New Zealand by following comprehensive local guides.
2. Do I need special tools or materials to construct a floating deck?
Building a floating deck requires typical construction materials which are readily available at local stores in New Zealand.
3. Is it legal to build a floating deck without any permit in New Zealand?
The rules vary depending on the area you live in; hence, always check with your local council before starting any building project like constructing a floating deck.
4. Can I DIY my own floating deck or should I hire professionals for this task?
While many people choose to DIY their own decks using comprehensive guides, hiring professional builders ensures that all safety standards and regulations are met during the construction process.